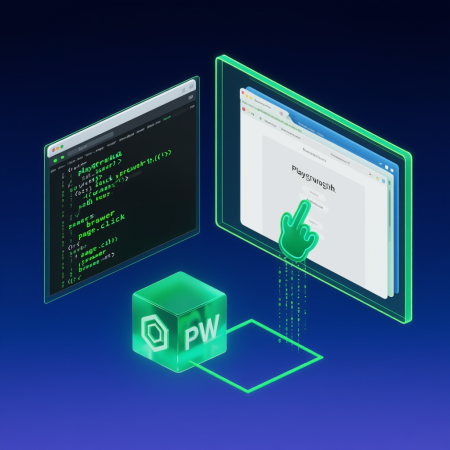
Playwright安装与环境配置
1. 前提条件
- Node.js 14.17+ 环境
- npm 或 yarn 包管理器
2. 安装步骤
方法一:快速初始化项目(推荐)
1
2
3
4
5
6
7
8
9
|
npm init playwright@latest my-playwright-project
cd my-playwright-project
npm install
npx playwright install
|
方法二:手动安装到现有项目
1
2
3
4
5
|
npm install playwright --save-dev
npx playwright install
|
3. 验证安装
1
2
3
4
5
|
npx playwright --version
npx playwright test
|
4. 第一个完整示例(包含安装后运行)
步骤1:创建测试文件
在项目根目录创建 tests/first-test.spec.ts
1
2
3
4
5
6
7
8
9
10
11
12
13
14
15
| import { test, expect } from '@playwright/test';
test('基本页面导航测试', async ({ page }) => {
await page.goto('https://playwright.dev/');
await expect(page).toHaveTitle(/Playwright/);
await page.getByRole('link', { name: 'Get Started' }).click();
await expect(page.getByRole('heading', { name: 'Installation' })).toBeVisible();
});
|
步骤2:运行测试
1
2
3
4
5
|
npx playwright test first-test.spec.ts
npx playwright show-report
|
步骤3:生成HTML测试报告
测试完成后会在playwright-report目录生成交互式报告,可通过浏览器打开查看详细测试结果。
5. 配置文件说明
项目根目录的playwright.config.ts文件可配置测试参数:
1
2
3
4
5
6
7
8
9
10
11
12
13
14
15
16
17
18
19
20
21
22
23
24
25
26
27
28
29
30
31
32
33
| import { defineConfig } from '@playwright/test';
export default defineConfig({
testDir: './tests',
timeout: 30 * 1000,
expect: {
timeout: 5000
},
fullyParallel: true,
forbidOnly: !!process.env.CI,
retries: process.env.CI ? 2 : 0,
workers: process.env.CI ? 1 : undefined,
reporter: 'html',
use: {
actionTimeout: 0,
baseURL: 'http://localhost:3000',
trace: 'on-first-retry',
},
projects: [
{
name: 'chromium',
use: { ...devices['Desktop Chrome'] },
},
{
name: 'firefox',
use: { ...devices['Desktop Firefox'] },
},
{
name: 'webkit',
use: { ...devices['Desktop Safari'] },
},
],
});
|
6. 常用命令速查表
| 命令 |
说明 |
npx playwright codegen |
启动代码生成器,录制用户操作并生成测试代码 |
npx playwright test |
运行所有测试 |
npx playwright test --project=chromium |
指定浏览器运行测试 |
npx playwright test --debug |
调试模式运行测试 |
npx playwright show-trace trace.zip |
查看跟踪报告 |